Have an account?
Log in to check out faster.
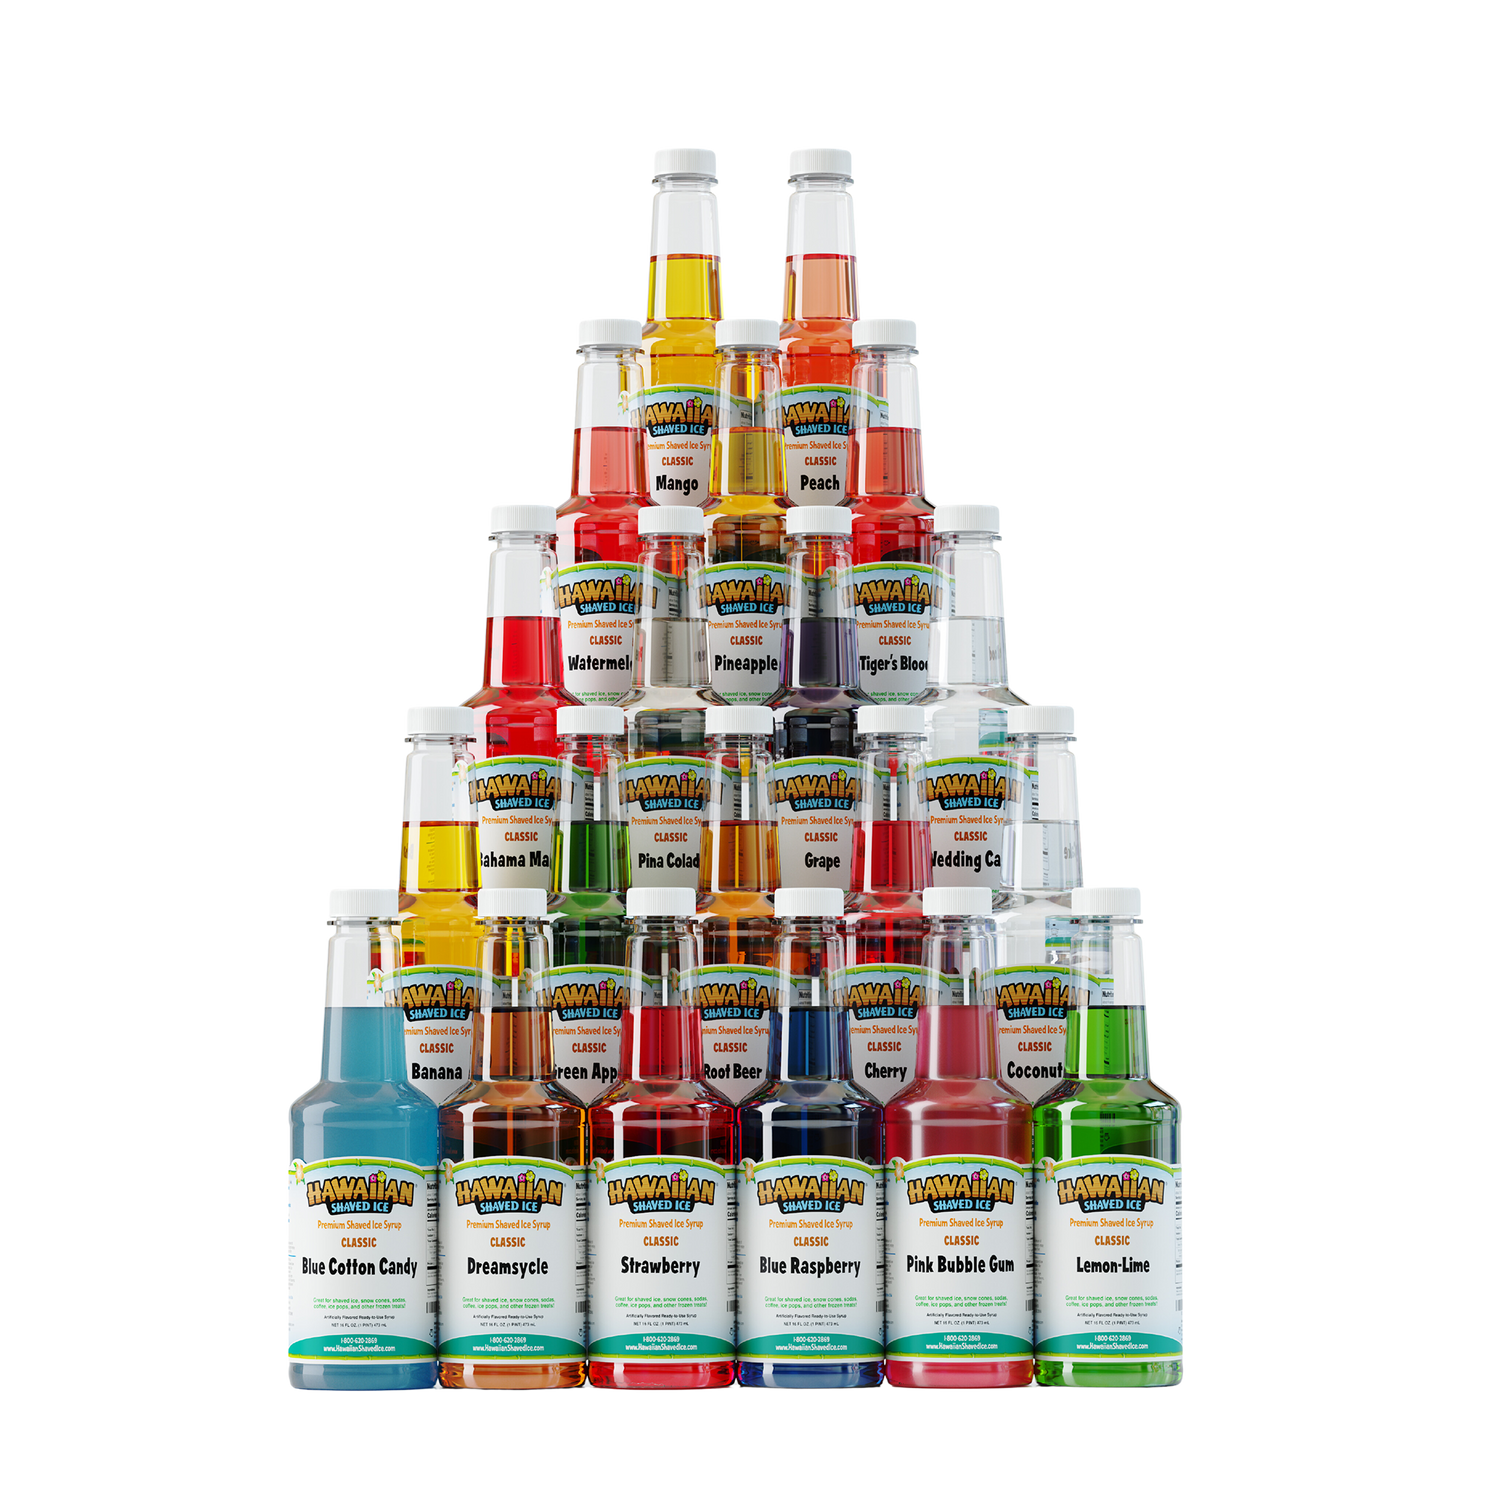
Every bottle of Hawaiian Shaved Ice® Premium Syrup is made with the finest...
Loading...
Free Shipping on orders over $40 *Exclusions apply
🥂More than just for kids try our cocktail recipes🥂
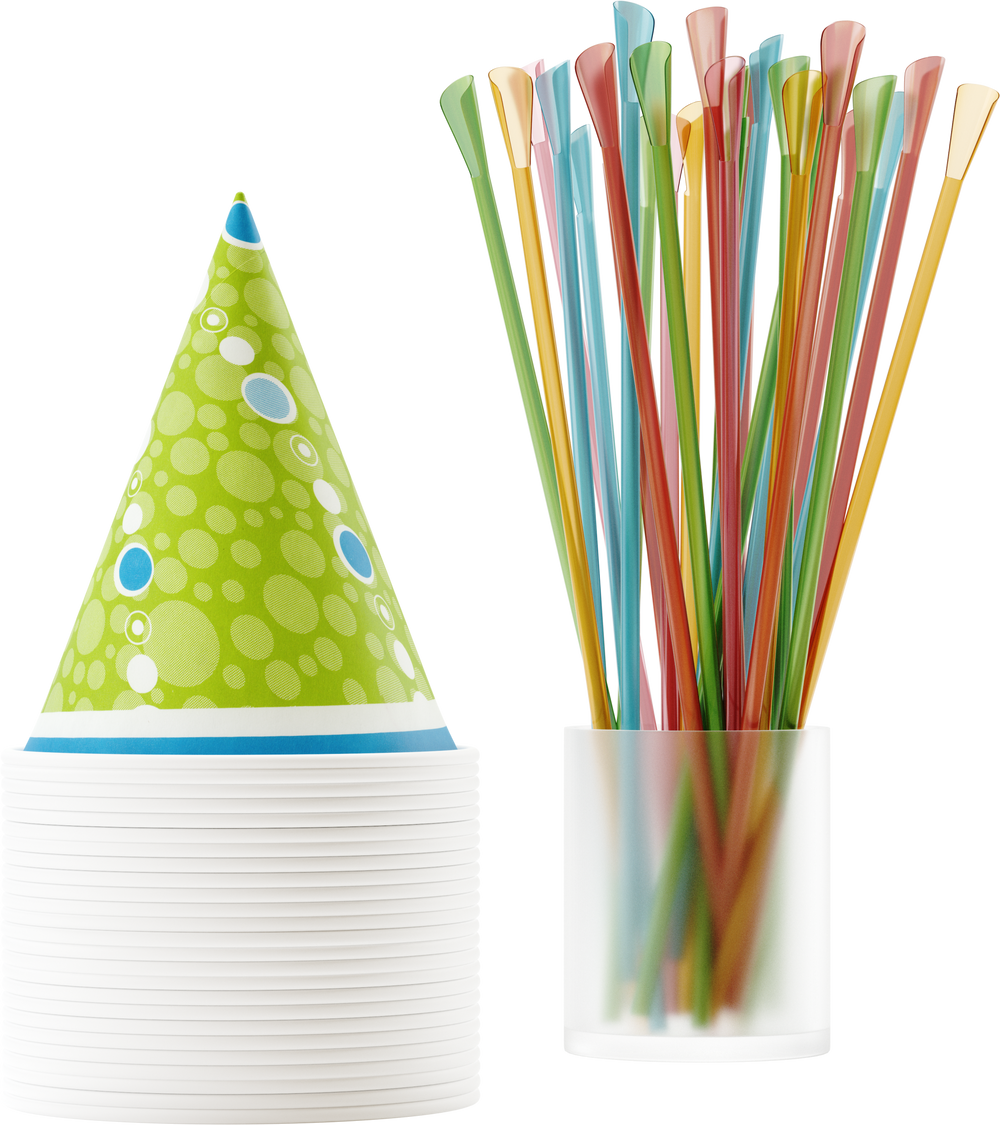
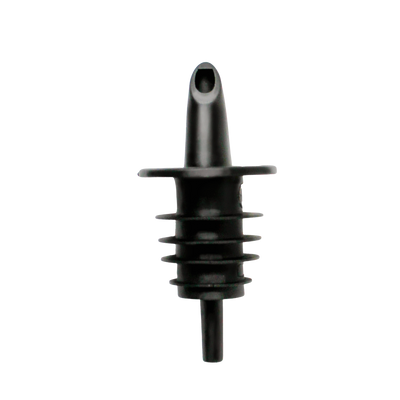
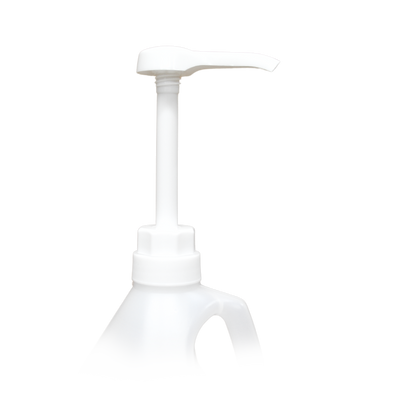
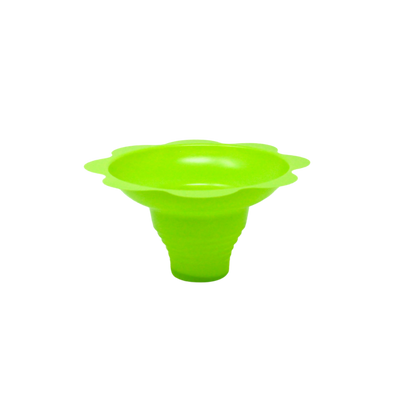
Check out all our accessories that will help you enjoy your icy treats!